网站都是用Markdown书写的,支持Mermaid似乎也在情理之中,下边咱们来实现一下。
对mermaid的支持需要从网站模版层面入手,这样,每次渲染的时候,就会自动渲染mermaid代码。
我们在我们的模版themes/mainroad下新建目录layouts/_default/_markup/,然后新建文件render-codeblock-mermaid.html,内容如下:
<pre class="mermaid">
  {{- .Inner | htmlEscape | safeHTML }}
</pre>
{{ .Page.Store.Set "hasMermaid" true }}
接着,我们在layouts/_default/baseof.html的head标签最后,增加以下代码:
{{ if .Store.Get "hasMermaid" }}
  <script type="module">
    import mermaid from 'https://cdn.jsdelivr.net/npm/mermaid/dist/mermaid.esm.min.mjs';
    mermaid.initialize({ startOnLoad: true });
  </script>
{{ end }}
// 以下代码是为了支持awesome符号
<link
  href="https://cdnjs.cloudflare.com/ajax/libs/font-awesome/6.5.1/css/all.min.css"
  rel="stylesheet"
/>
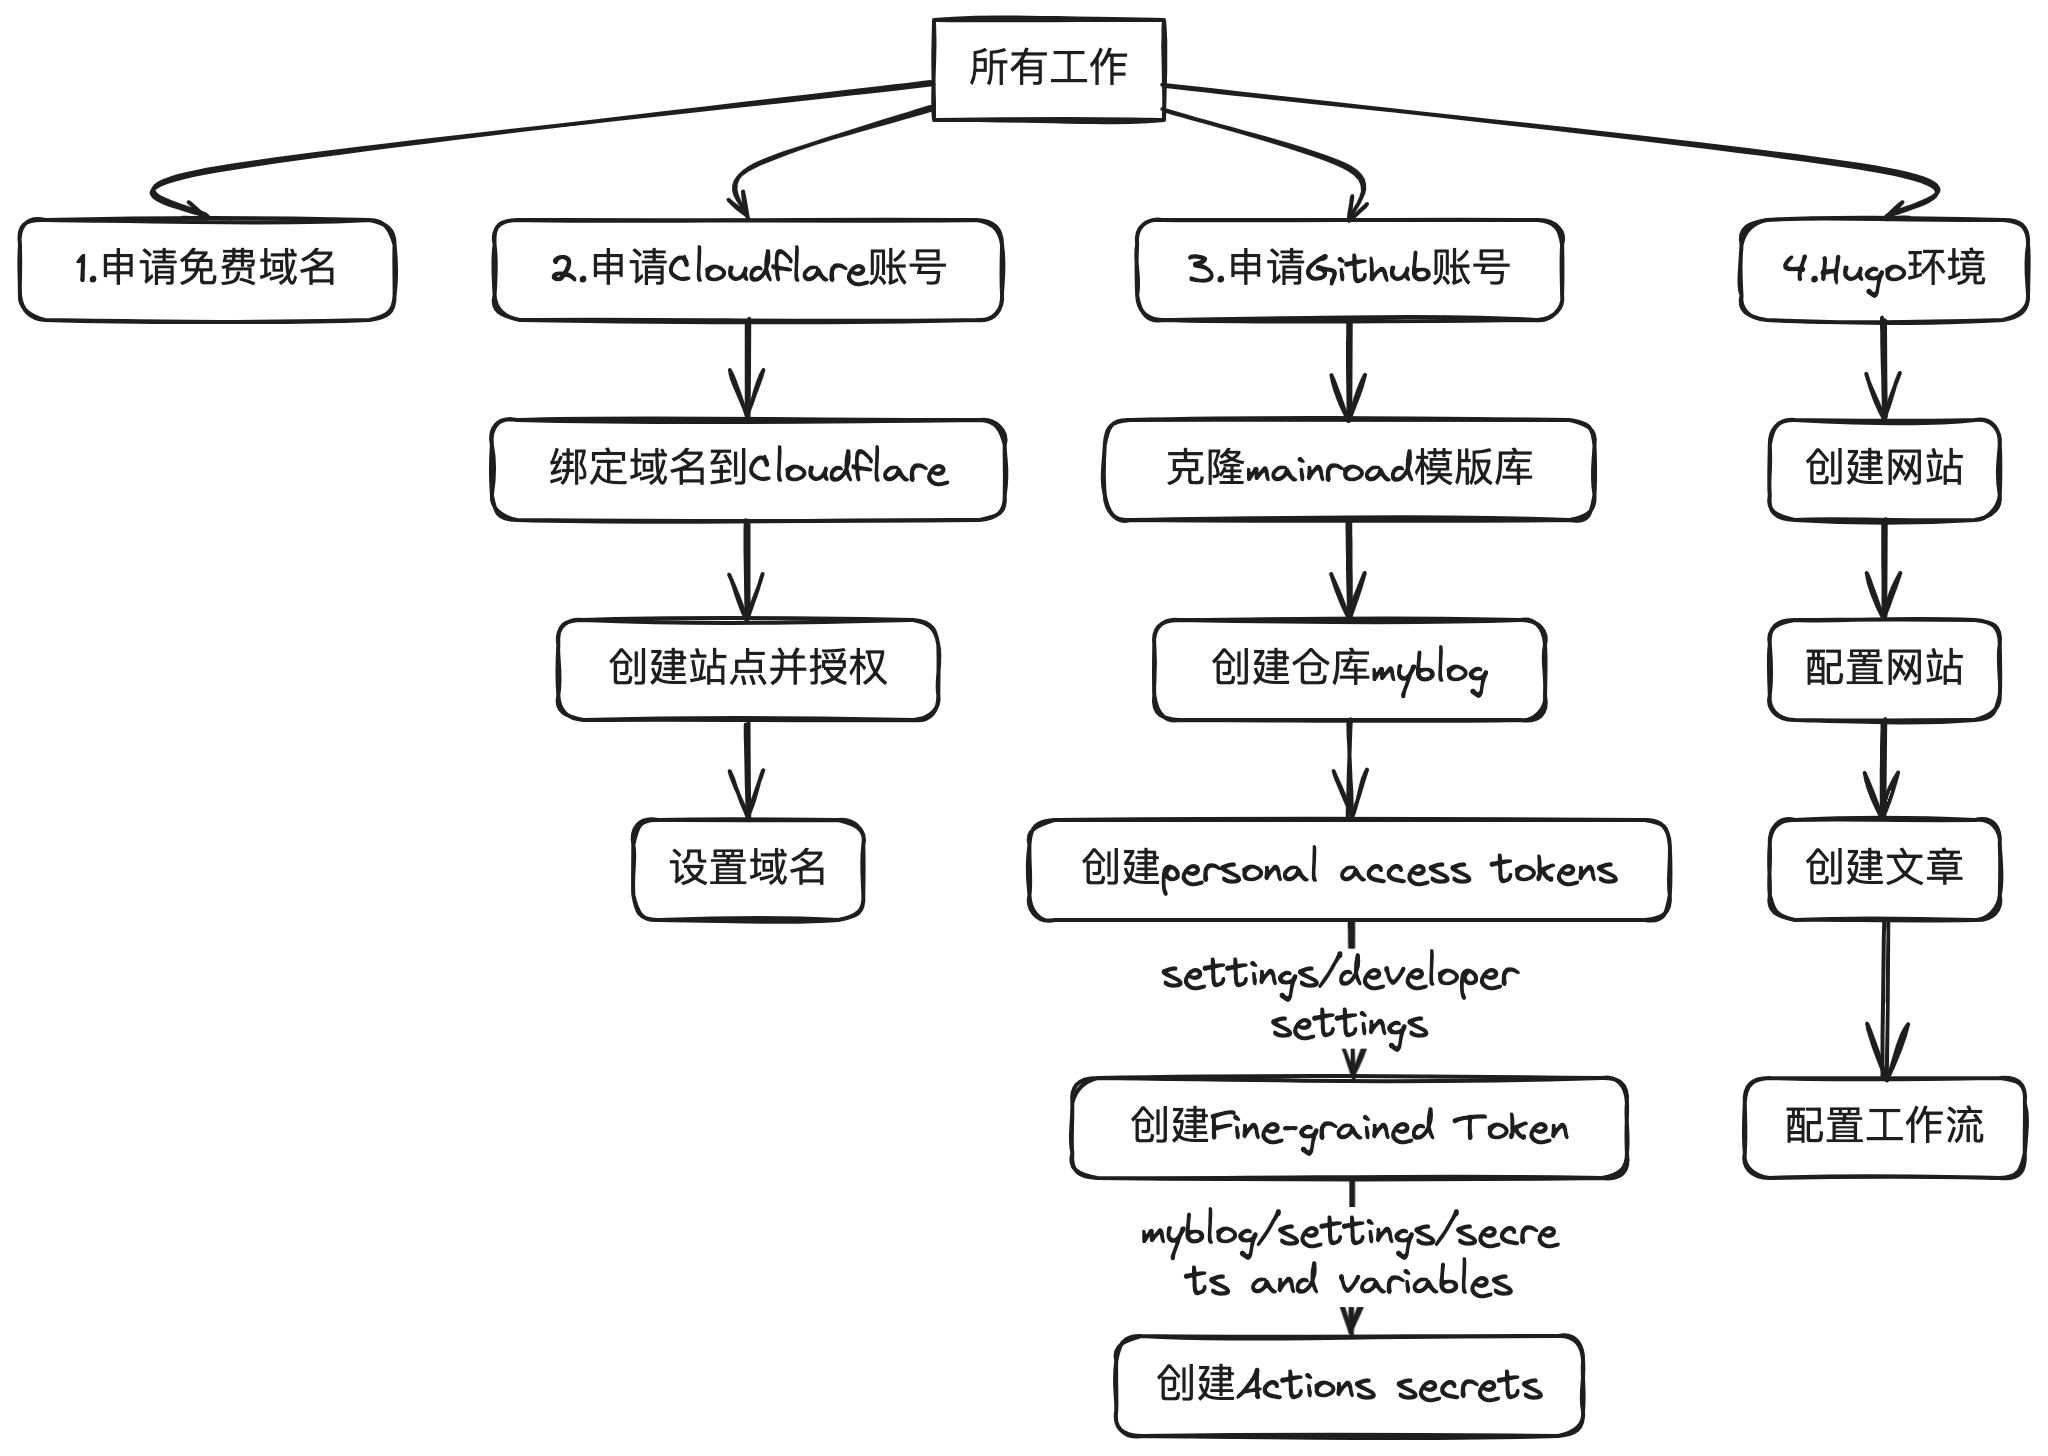
我们测试如下:
流程图
flowchart TD
A[所有工作] -->B(1.申请免费域名)
A-->D(2.申请Cloudflare账号)
D-->E(绑定域名到Cloudflare)
E-->R(创建站点并授权)
R-->S(设置域名)
A-->C(3.申请Github账号)
C-->G(克隆mainroad模版库)
G-->F(创建仓库myblog)
F-->H(创建personal access tokens)
H--settings/developer settings-->J(创建Fine-grained Token)
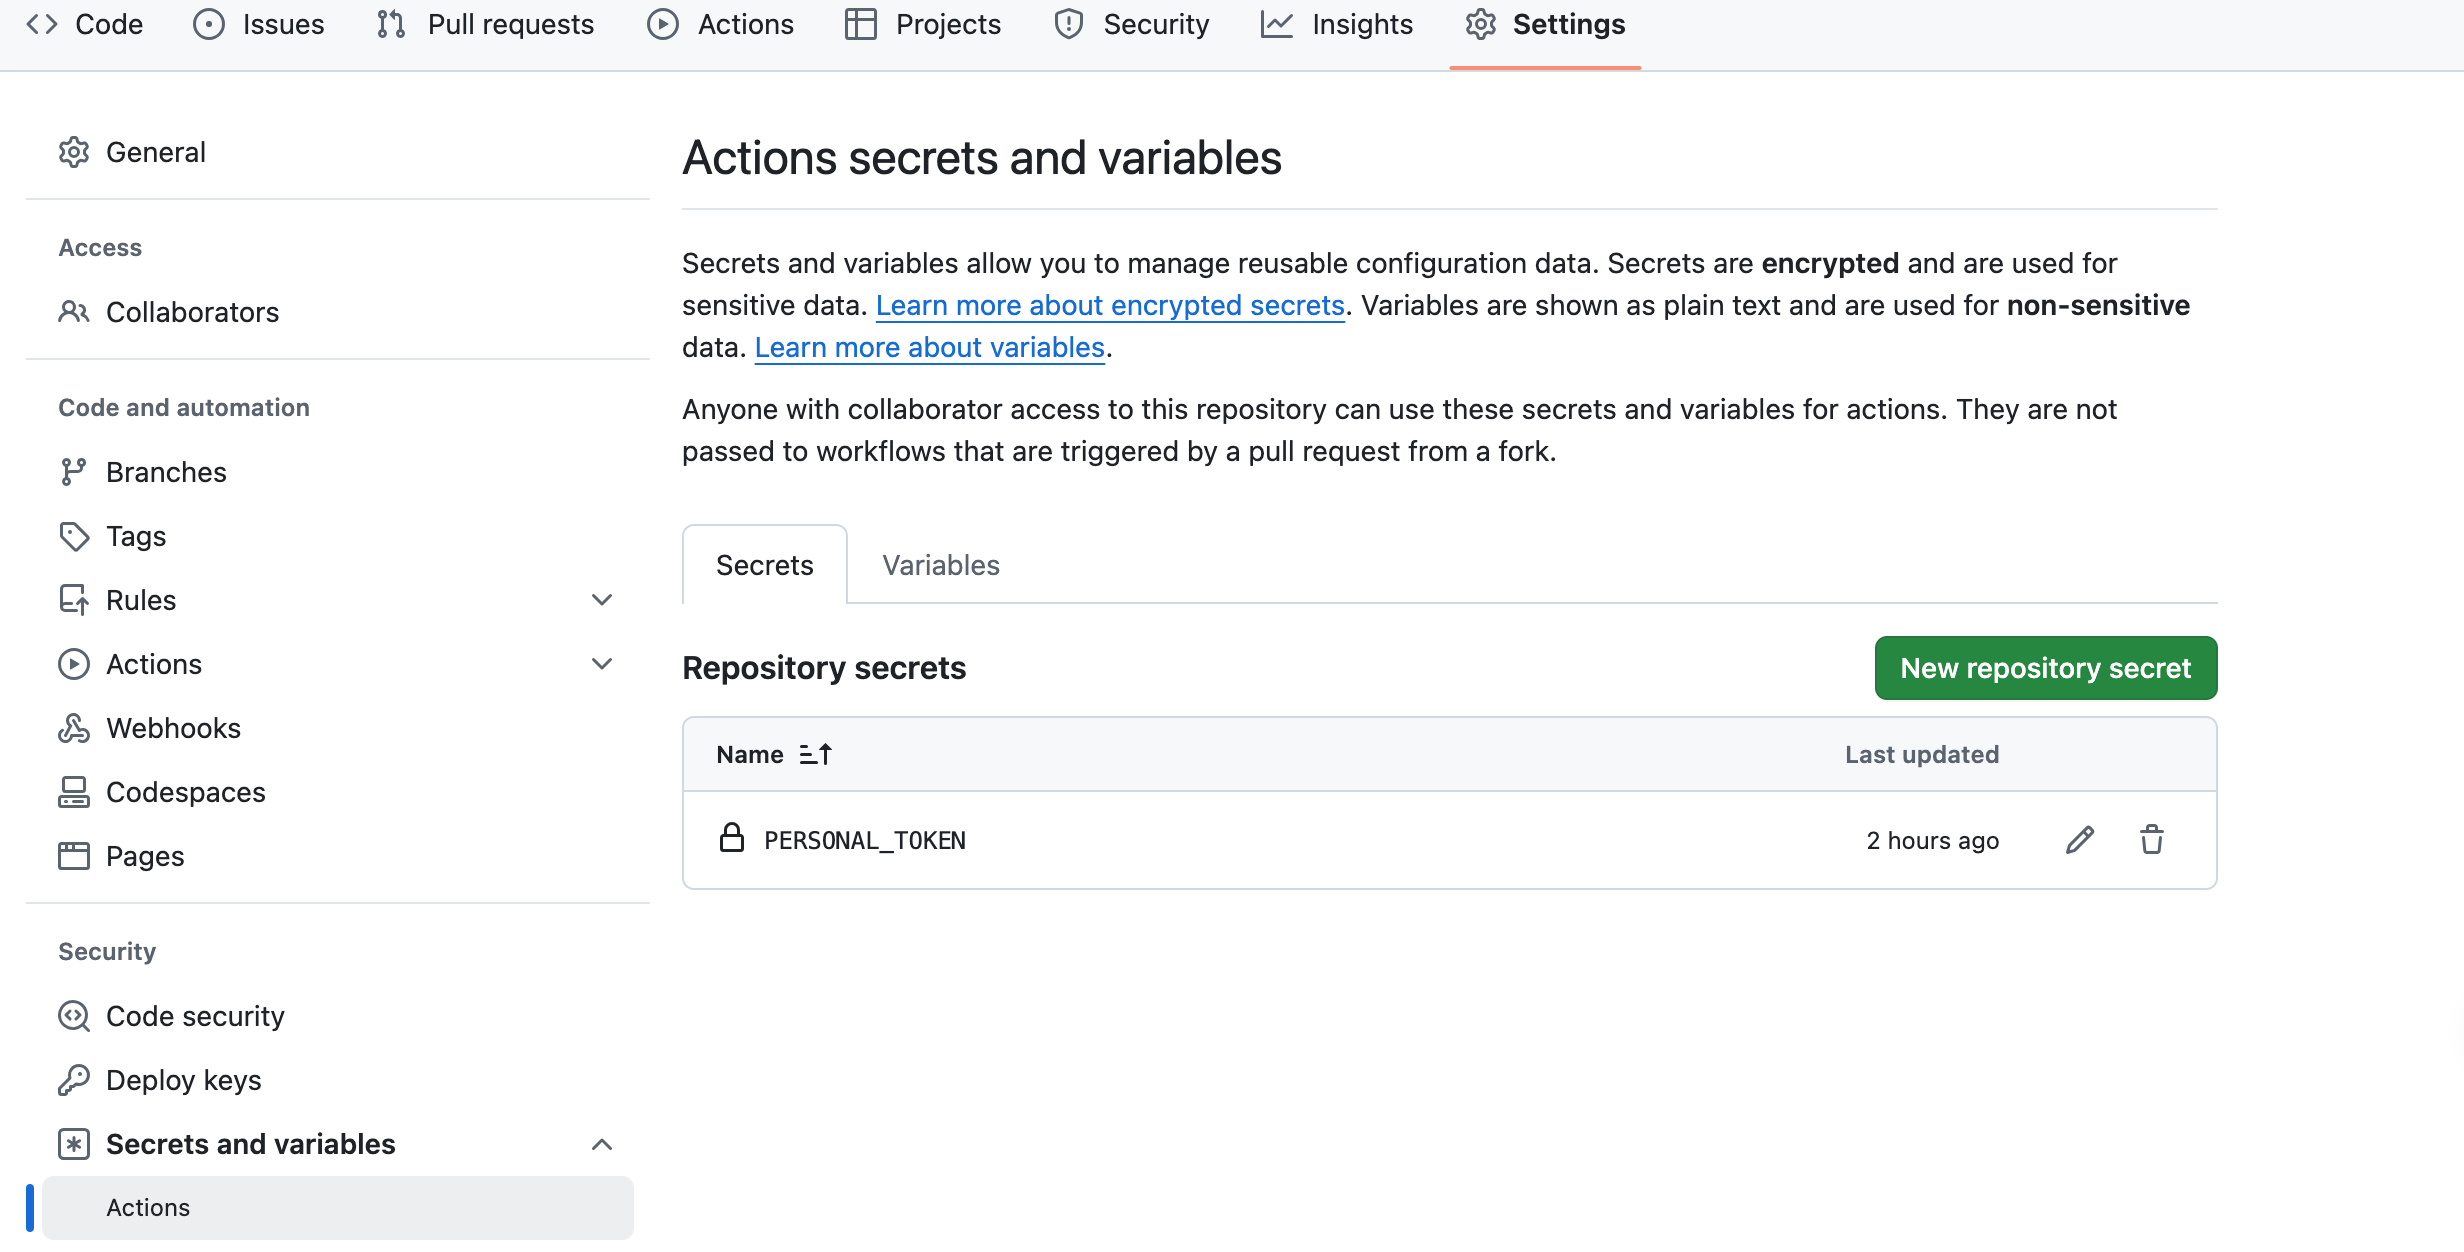
J--myblog/settings/secrets and variables-->K(创建Actions secrets<PERSONAL_TOKEN>)
A-->L(4.Hugo环境)
L-->M(创建网站)
M-->N(配置网站)
N-->P(创建文章)
P-->Q(配置工作流)
A-->T(5.Mermaid)
T-->T1(Font Awesome)
架构图
architecture-beta
    group api(cloud)[API]

    service db(database)[Database] in api
    service disk1(disk)[Storage] in api
    service disk2(disk)[Storage] in api
    service server(server)[Server] in api

    db:L -- R:server
    disk1:T -- B:server
    disk2:T -- B:db
看板
---
config:
  kanban:
    ticketBaseUrl: 'https://mermaidchart.atlassian.net/browse/#TICKET#'
---
kanban
  Todo
    [Create Documentation]
    docs[Create Blog about the new diagram]
  [In progress]
    id6[Create renderer so that it works in all cases. We also add som extra text here for testing purposes. And some more just for the extra flare.]
  id9[Ready for deploy]
    id8[Design grammar]@{ assigned: 'knsv' }
  id10[Ready for test]
    id4[Create parsing tests]@{ ticket: MC-2038, assigned: 'K.Sveidqvist', priority: 'High' }
    id66[last item]@{ priority: 'Very Low', assigned: 'knsv' }
  id11[Done]
    id5[define getData]
    id2[Title of diagram is more than 100 chars when user duplicates diagram with 100 char]@{ ticket: MC-2036, priority: 'Very High'}
    id3[Update DB function]@{ ticket: MC-2037, assigned: knsv, priority: 'High' }

  id12[Can't reproduce]
    id3[Weird flickering in Firefox]
序列图
sequenceDiagram
    actor Alice
    actor Bob
    Alice->>Bob: Hi Bob
    Bob->>Alice: Hi Alice