Hugo + Github Action + Cloudflare 建站指北
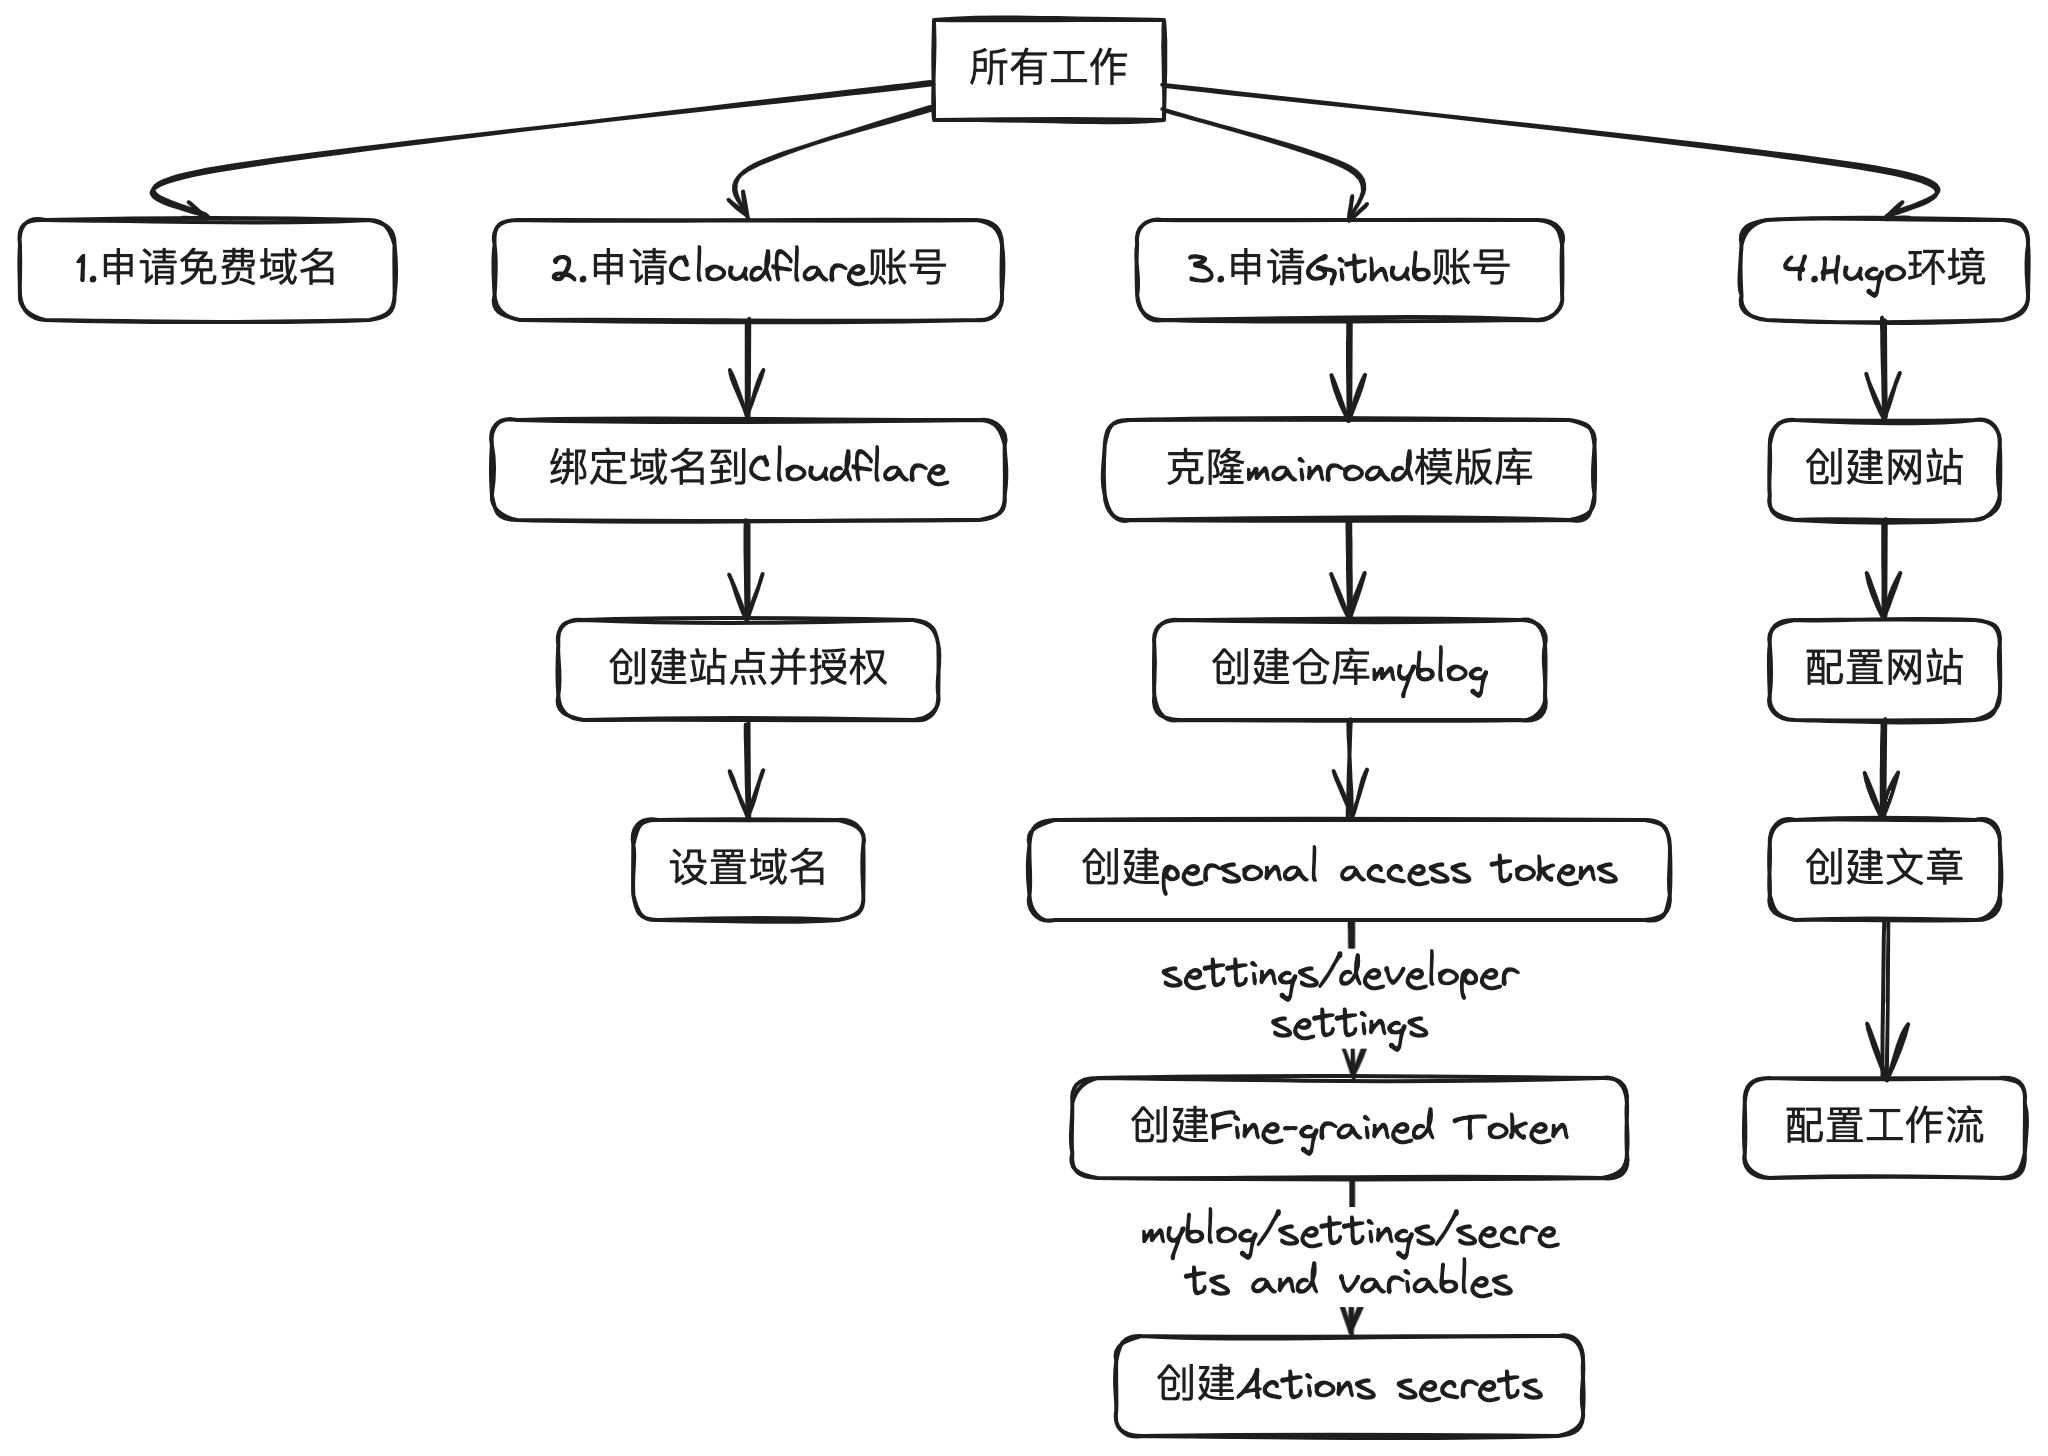
先给个指北全图
拥有一个免费域名
尽管Cloudflare Pages建站可以提供免费域名,毕竟太长、太难记,一个网站有简单好记的域名非常重要。
咱们已经找好了可以没费注册的域名,它的后缀是us.kg,地址如下:
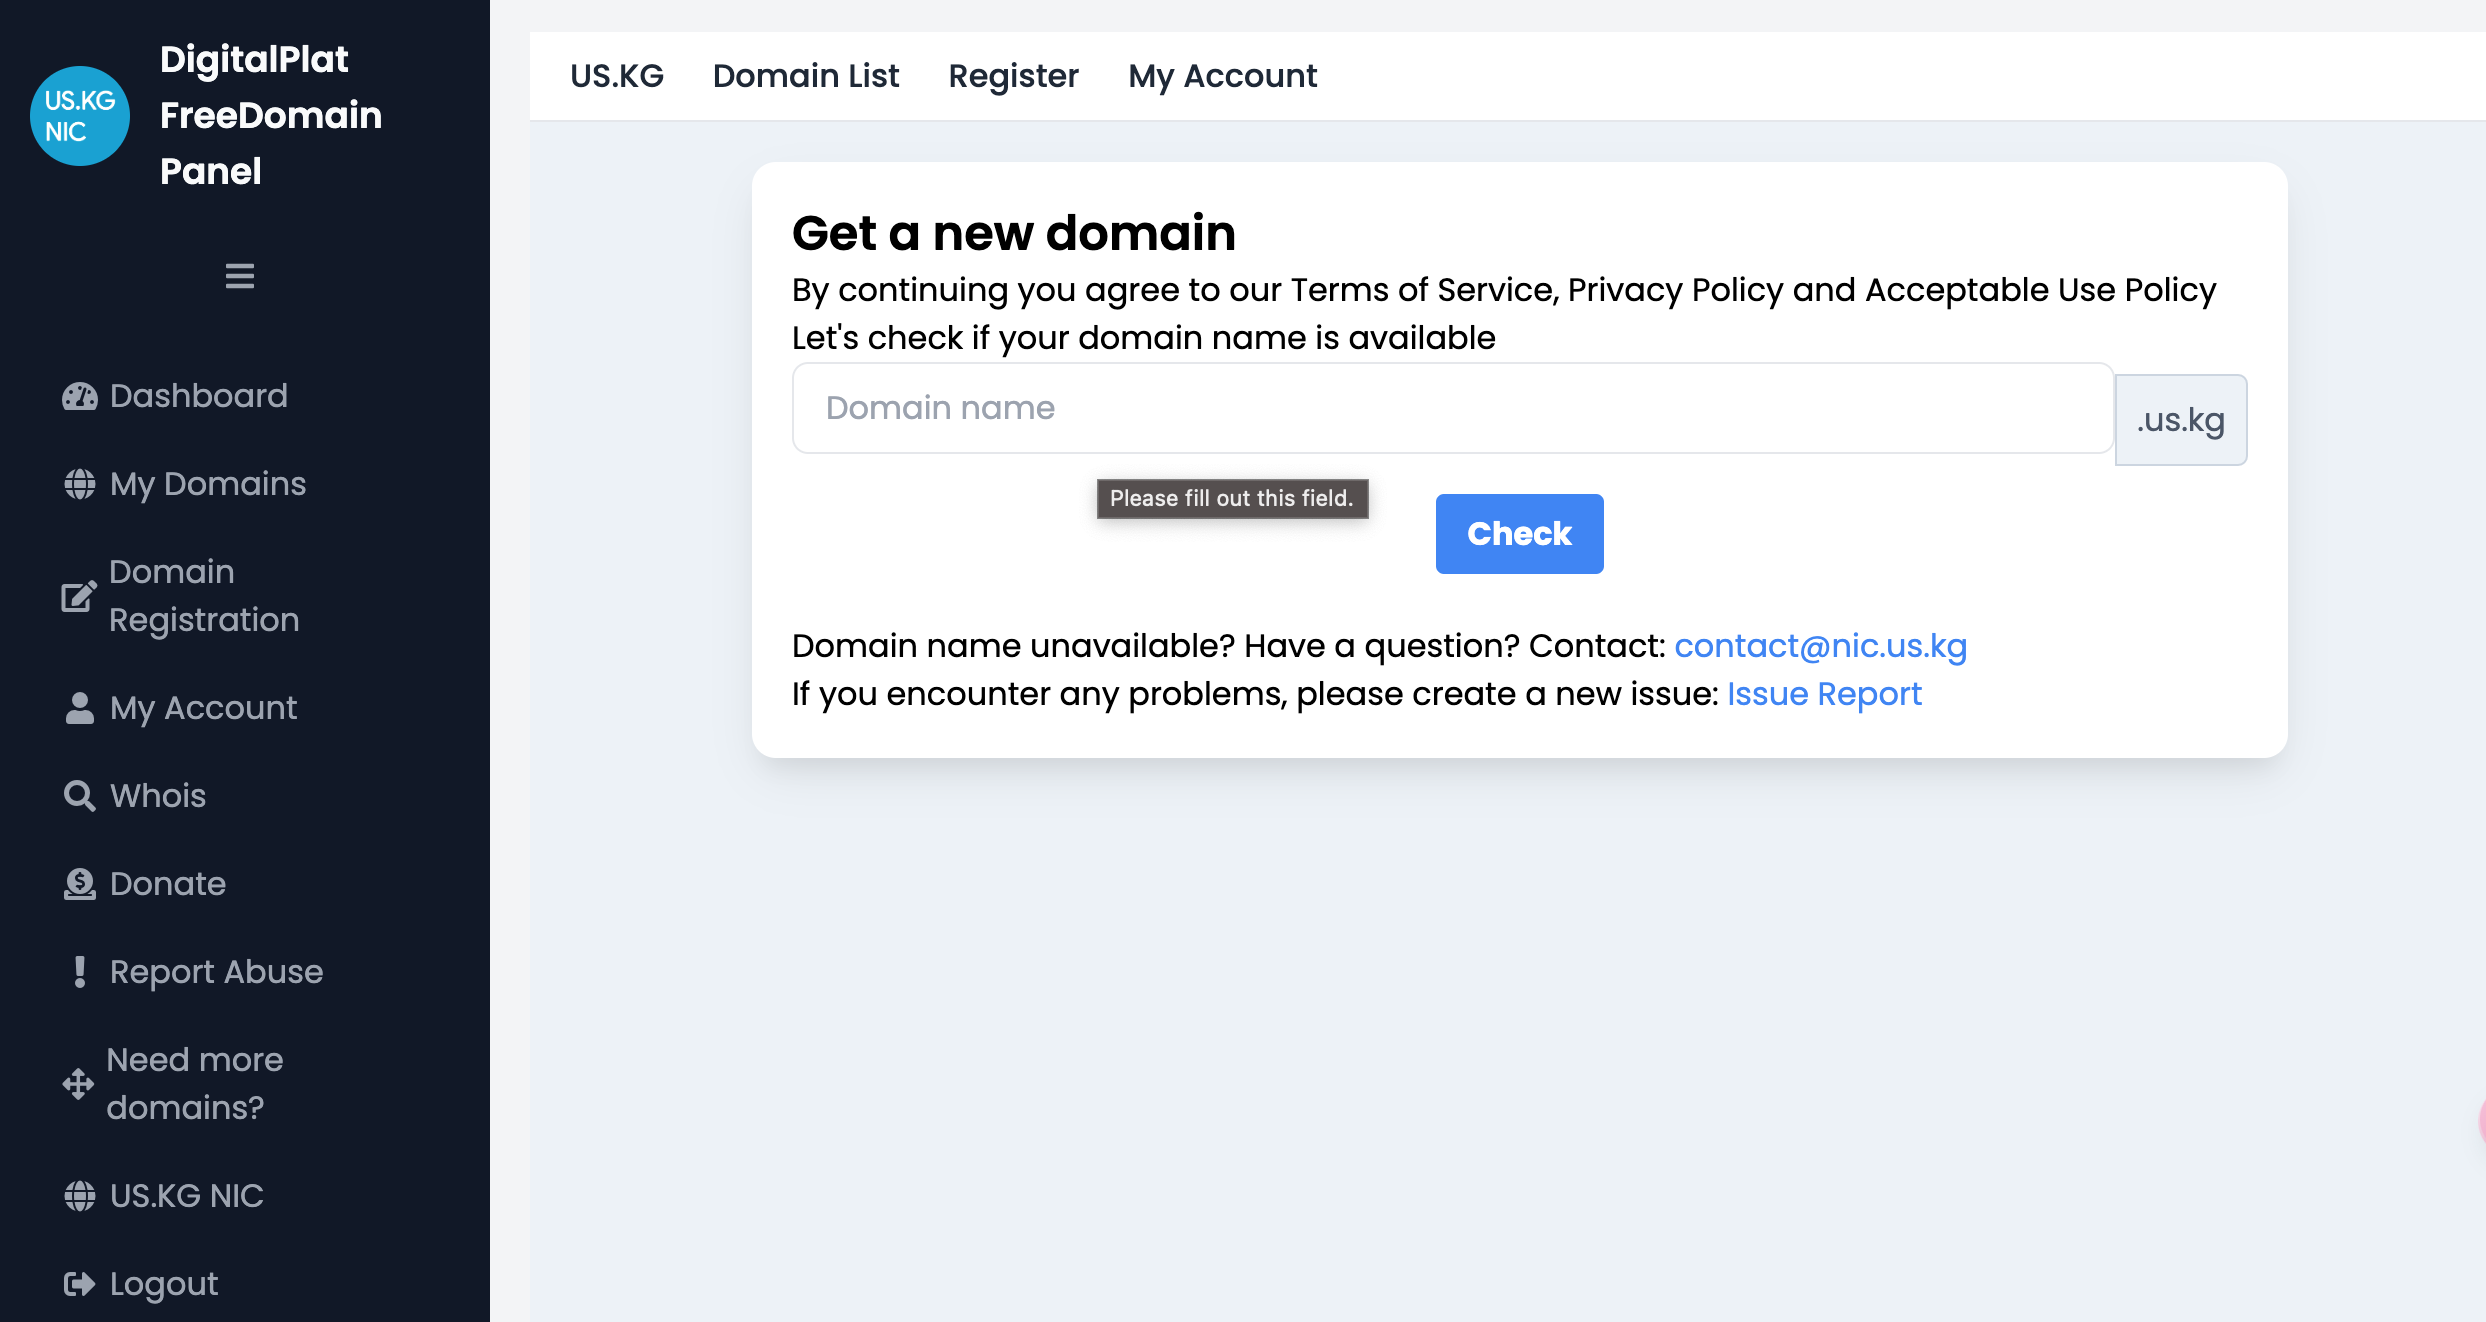
把域名绑定到Cloudflare
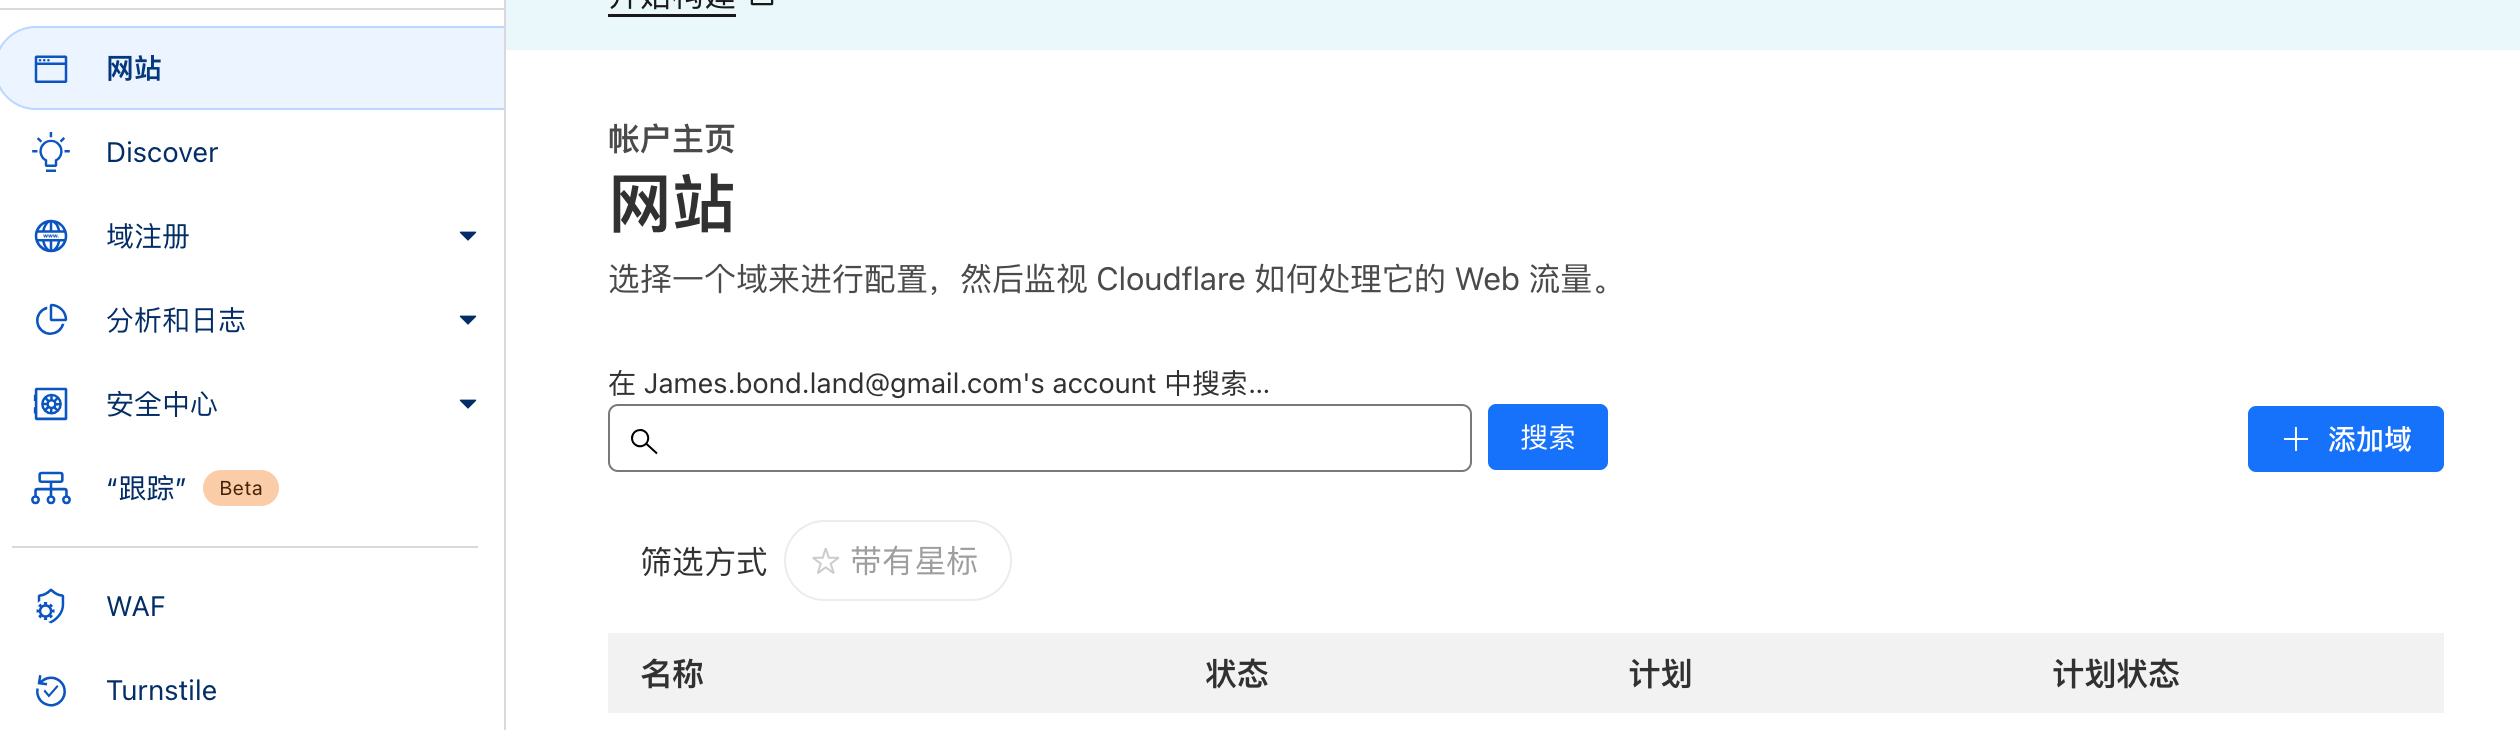
申请注册Cloudflare,进去后,点击网站、添加域,输入申请的域名进行添加。
Github账号设置
申请注册Github账号。
确定网站模版,并Clone到自己的Github账号下
到Hugo的网站去找一个自己心意的网站模版,我以mainroad模版为例。
进入mainroad的Github主页,点击页面右上方的Fork按钮,先复制一份到自己的Github账号。这一步主要是为了自己网站模版的版本管理。
- 创建自己网站的仓库
点击右上角的+号,选择创建仓库,设置名字,比如myblog,是私有还是公开都可以,其他默认。
- Github自动发布网站的密钥设置
我们在管理网站的时候,希望本地要发布的内容推送到Github,由Github自动编译,这时候我们要给Github授权,这是就是设置授权。
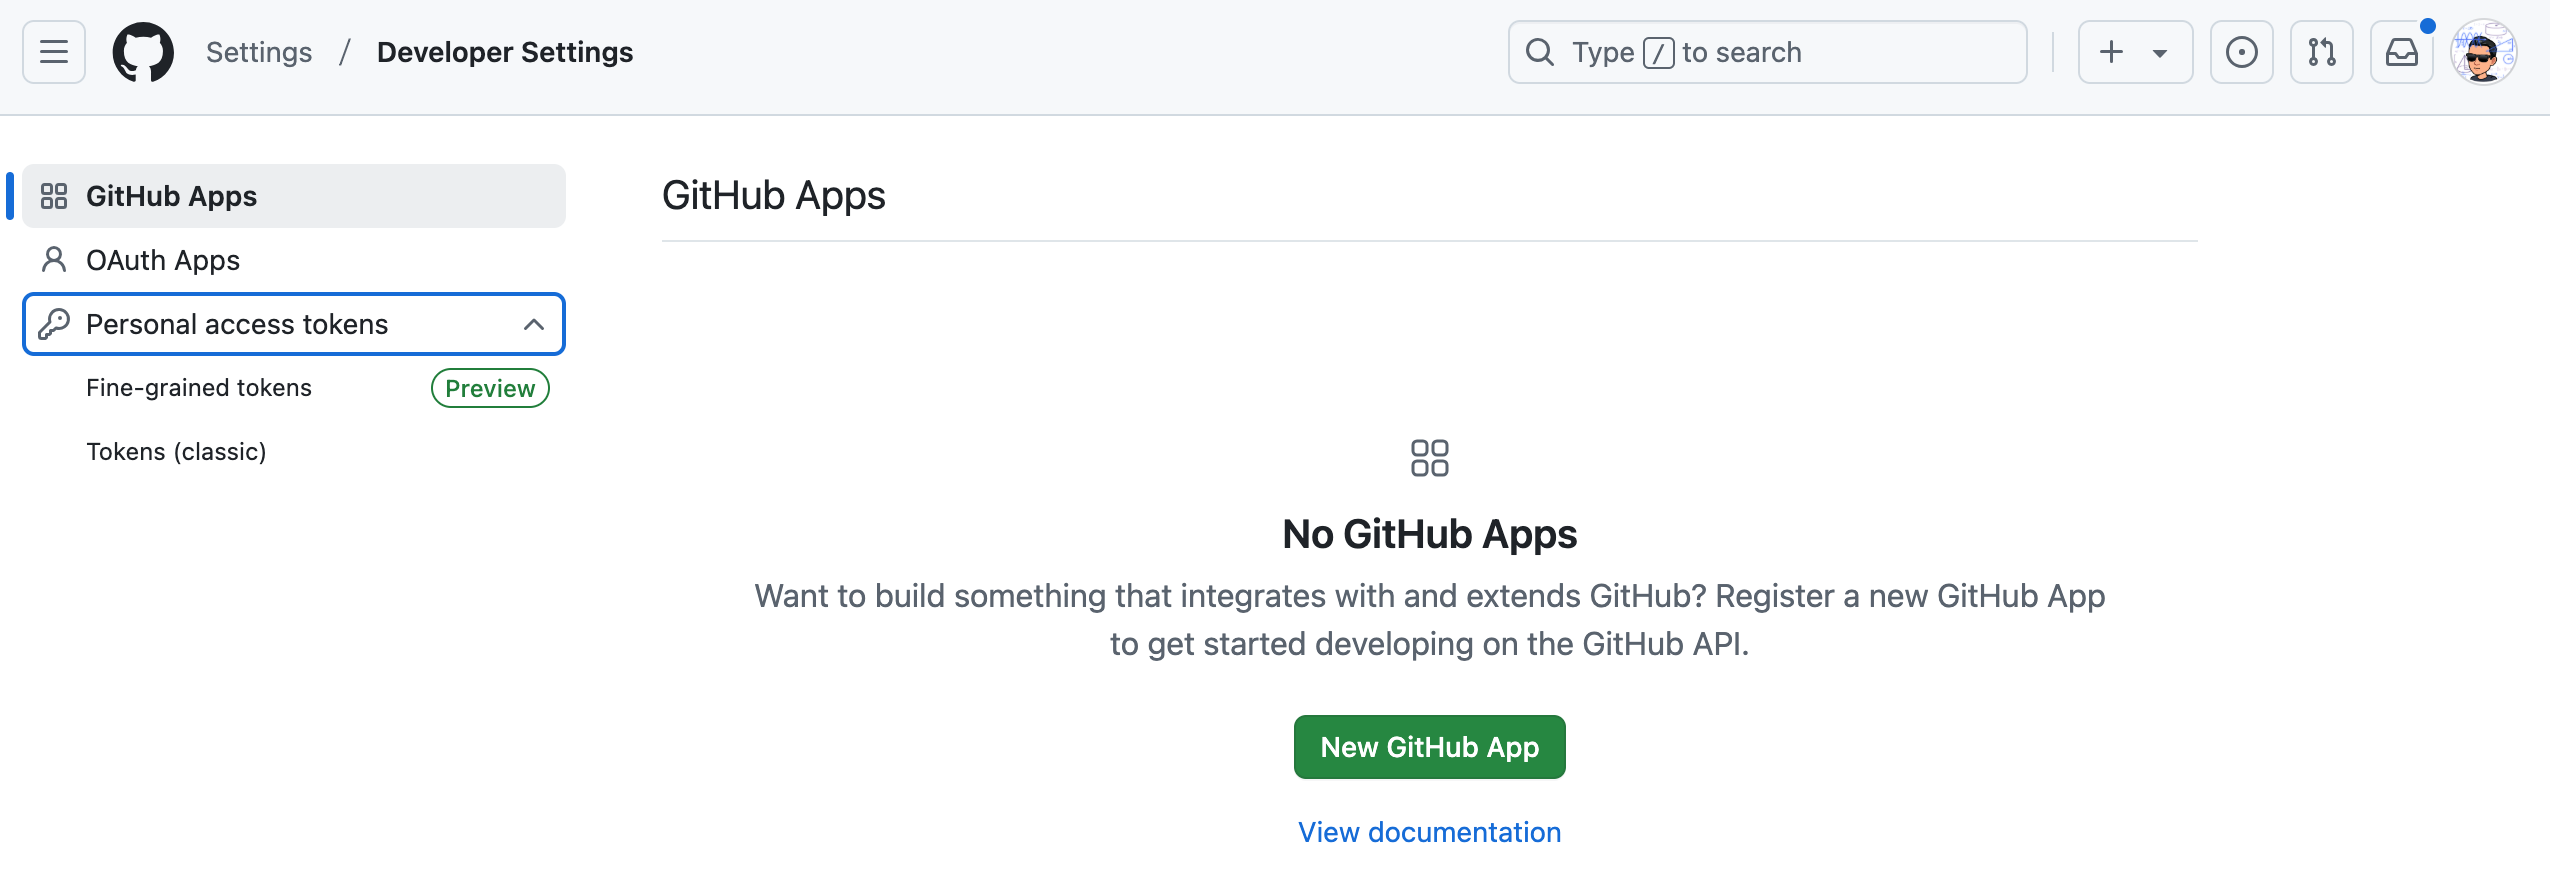
进入Developer settiongs,生成Fine-granted tokens,并复制。
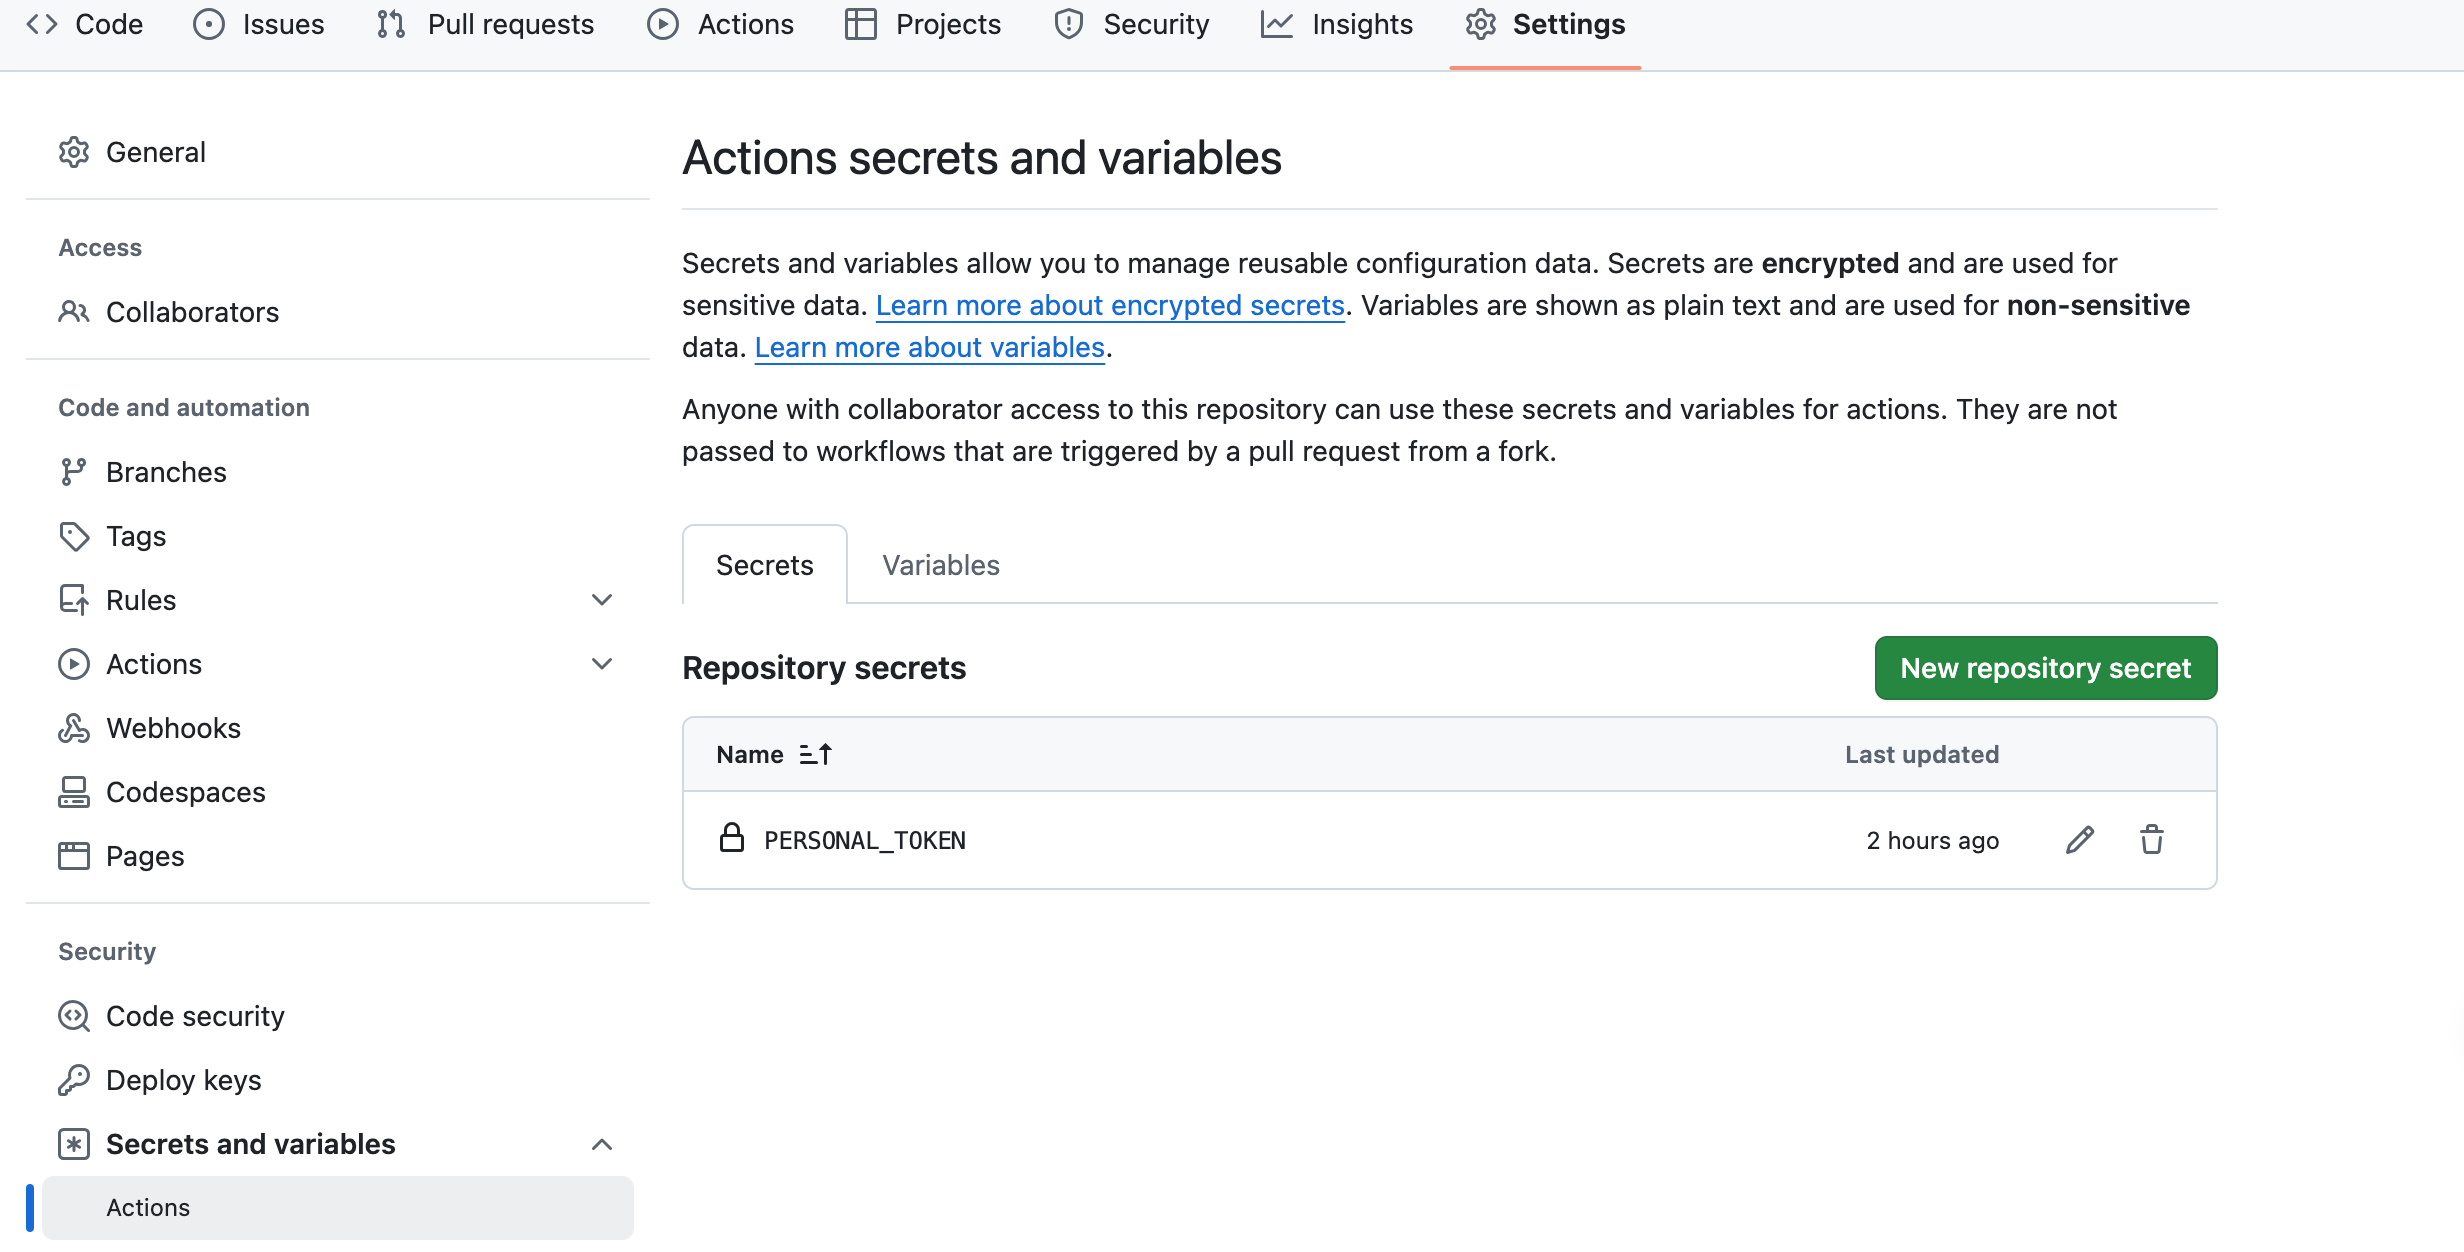
打开项目myblog,设置Actions secrets,名字是PERSONAL_TOKEN,密码是上一步的token。
开始正式建站
以下所有操作基于MacOS,其他操作系统类似,可参考Hugo官方网站。
- 安装hugo
brew install Hugo
- 创建站点
hugo create site myblog
- 配置网站模版
进入myblog目录,前边我们已经fork了mainroad主题,现在,我们把它作为子模块放到主题目录。
cd myblog
git init
git submodule add https://github.com/cryptowww/Mainroad themes/mainroad
- 网站设置
打开hugo.toml,进行设置。
baseurl = "/"
title = "巴贝奇的织机"
languageCode = "en-us"
theme = "mainroad"

[services.disqus]
  shortname = "" # Enable Disqus by entering your Disqus shortname
[services.googleAnalytics]
ID = "" # Enable Google Analytics by entering your tracking ID

[Params.author]
  name = "James"
  bio = "Stay Hungry, Stay Foolish."
  avatar = "img/avatar.png" # 要放到mainroad/static/img/下

[Params]
  description = "科技领域的新鲜事"           # Description of your site
  opengraph = true
  twitter_cards = false
  readmore = false                   # Show "Read more" button in list if true
  authorbox = false
  pager = true
  post_meta = ["date", "categories"] # Order of post meta information
  mainSections = ["posts", "docs"]   # 指定哪些文件目录里的文章显示到主页

[Params.logo]
  subtitle = "科技分享"      # Logo subtitle
  image = "img/logo.JPG" # Logo image

[Params.links] # 定义 links 表
  [[Params.links.items]] # 定义链接数组
    name = "Github"
    url = "https://github.com/cryptowww"

[Params.sidebar] # 定义侧边栏显示的位置和内容
  home = "right"   # Configure layout for home page
  list = "right"   # Configure layout for list pages
  single = "right" # Configure layout for single pages
# Enable widgets in given order
  widgets = ["search", "recent", "categories", "taglist", "links"]

[Params.widgets]
  recent_num = 6            # Set the number of articles in the "Recent articles" widget
  tags_counter = true       # Enable counter for each tag in "Tags" widget (disabled by default)
  categories_counter = true # Enable counter for each category in "Categories" widget (disabled by default)

[menus] # 设置两个菜单
  [[menus.main]]
    name = "主页"
    title = "home"
    pageRef = "/"
    weight = 1
  [[menus.main]]
    name = "编程"
    pageRef = "/program"
    weight = 2
- 创建文章
使用命令
hugo new posts/myblog-first-post.md
在myblog/content/posts/目录下,你能看到文件myblog-first-post.md。
打开myblog-first-post.md,显示如下:

我们打开,增加以下内容
Test before go to line.

- 运行网站
hugo server
- 打开
你发布的文章并不会显示出来,原因在与所有文章创建完都是草稿状态draft=true,hugo server并不会渲染草稿状态的文章。为了看到文章,又不直接发到网上,我们可以使用以下命令启动网站。
hugo server -D
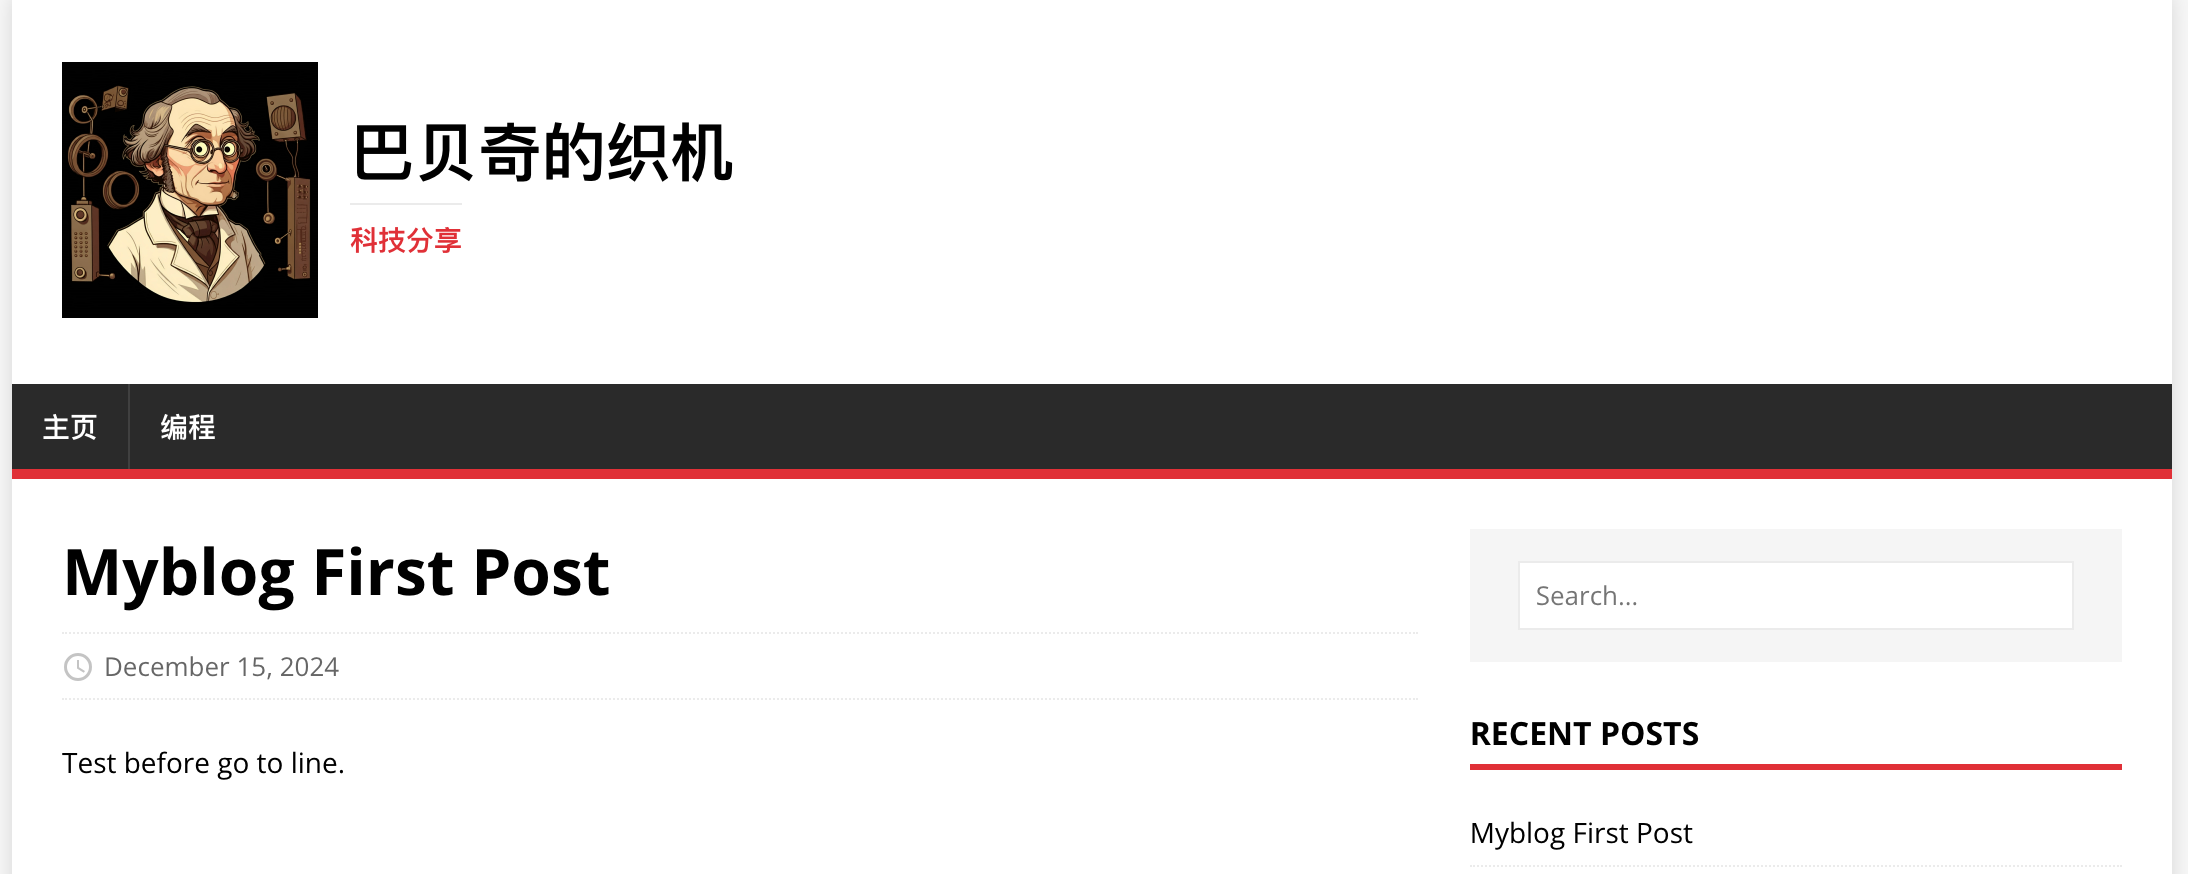
这样,草稿就会显示出来,网站显示如下:
侧边栏增加外部友情链接的方式
在themes/mainroad模版路径下创建layouts/partials/widgets/links.html
<h3>Links</h3>
<ul>
  {{ range .Site.Params.links.items }}
    <li><a href="{{ .url }}"{{if hasPrefix .url "http"}} target="_blank" rel="noopener noreferrer" {{end}}>{{ .name }}</a></li>
  {{ end }}
</ul>
在hugo.toml增加相关配置:
[params]
  [params.links] # 定义 links 表
    [[params.links.items]] # 定义链接数组
      name = "示例网站 1"
      url = "https://example.com"
    [[params.links.items]]
      name = "Google"
      url = "https://google.com"
    [[params.links.items]]
      name = "关于我们" # 站内链接
      url = "/about/"
    [[params.links.items]]
      name = "我的项目"
      url = "https://github.com/yourname/yourproject"
增加评论系统
打开DisQus注册,点击右上角头像,选择Add Disqus to Site,设置一个名字。
修改hugo.toml
[services.disqus]
  shortname = "your-short-name" # Enable Disqus by entering your Disqus shortname
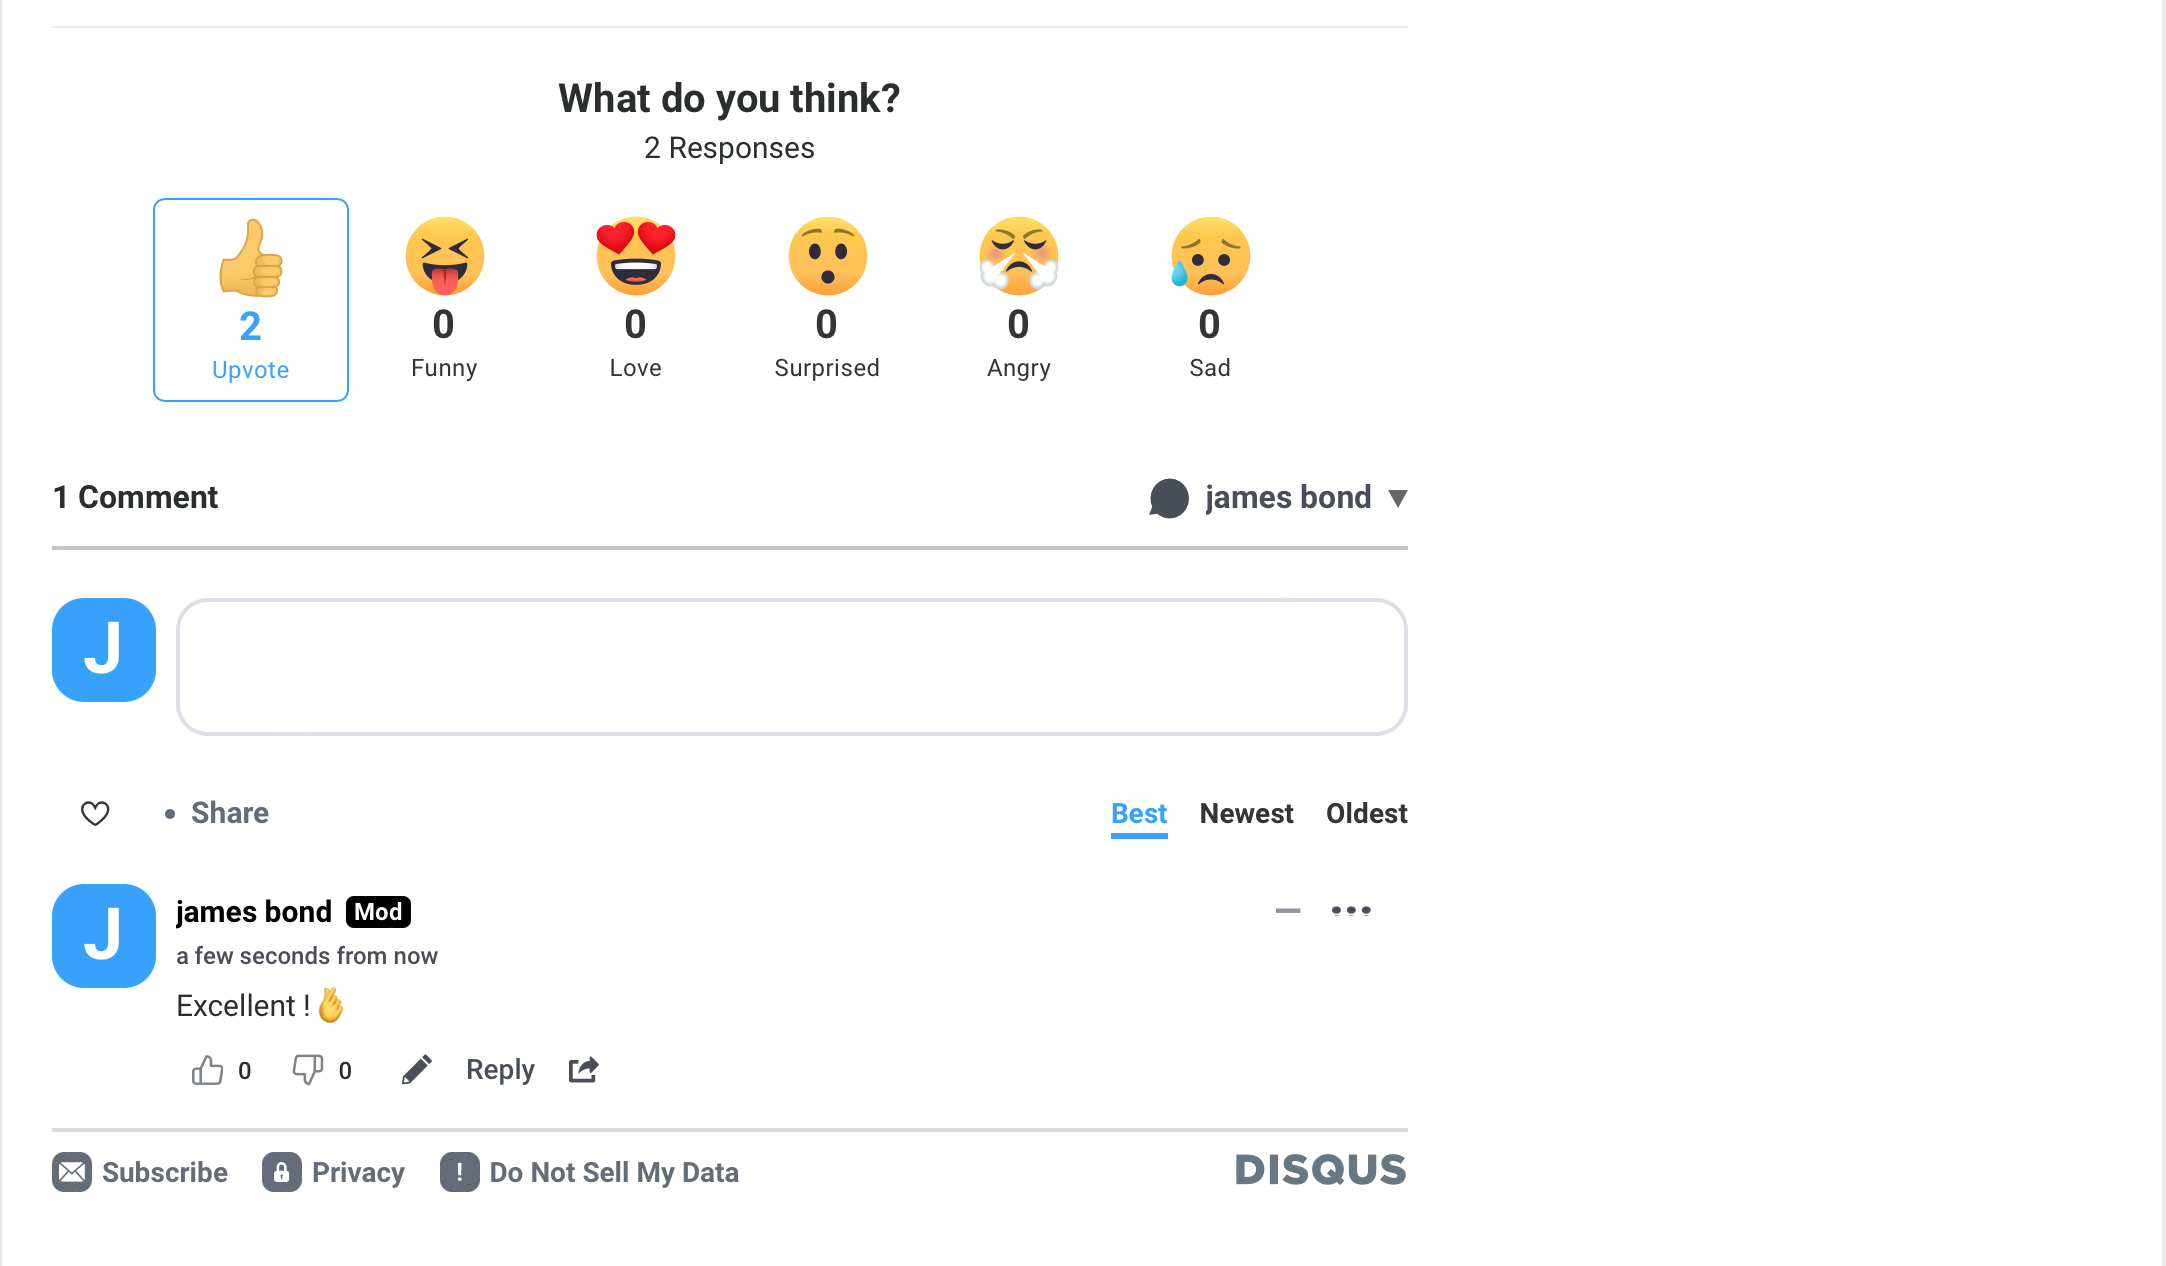
正式发布后,你将看到以下效果:
配置Github自动化编译
在myblog下新建文件.github/workflows/deploy.yml如下:
name: deploy

on:
  push:
    branches: [main]
  #workflow_dispatch:
  #schedule:
  # Runs everyday at 8:00 AM
  #  - cron: "0 0 * * *"

jobs:
  build:
    runs-on: ubuntu-latest
    steps:
      - name: Checkout
        uses: actions/checkout@v3
        with:
          submodules: true
          fetch-depth: 0

      - name: Setup Hugo
        uses: peaceiris/actions-hugo@v2
        with:
          hugo-version: 0.139.4
          extended: true

      - name: Build Web
        run: hugo --gc --minify

      - name: Deploy Web
        uses: peaceiris/actions-gh-pages@v3
        with:
          PERSONAL_TOKEN: ${{ secrets.PERSONAL_TOKEN }}
          PUBLISH_BRANCH: website
          PUBLISH_DIR: ./public
          commit_message: ${{ github.event.head_commit.message }}
其中${{ secrets.PERSONAL_TOKEN }},就是前边创建的。
PUBLISH_BRANCH: website表示我们要把文件渲染后放到独立的分支website。
PUBLISH_DIR: ./public表示我们要把文章发布到public目录
发布到Cloudflare
关键的一步来了!
登录到Cloudflare,进入Works and Pages,点击创建,选择Pages,选择连接到Git。把我们的Git账户添加上,并授权Cloudflare存取myblog项目。
进入开始设置,项目名称如myblog,分支选择website(自动化工作流设置了编译后的渲染分支)。
因为我们已经用Github做了自动化构建,不再使用Cloudflare提供的构建能力,所以下边的框架预设选无,构建命令、构建输出目录都空着。
保存后,Cloudflare就开始自动拉取分支website的内容,并且开始构建了。
以后,我们每次本地写完文章,推送到Github,后,Github就会启动工作流进行自动构建,Cloudflare检测到更新后,就会自动发布,一切都自动进行,这是一个完整的Devops流程。
把域名绑定到网站
进入Works and Pages,选择刚刚创建的网站myblog,点击自定出域,把已经绑定到Cloudflare的域名绑定到myblog网站。
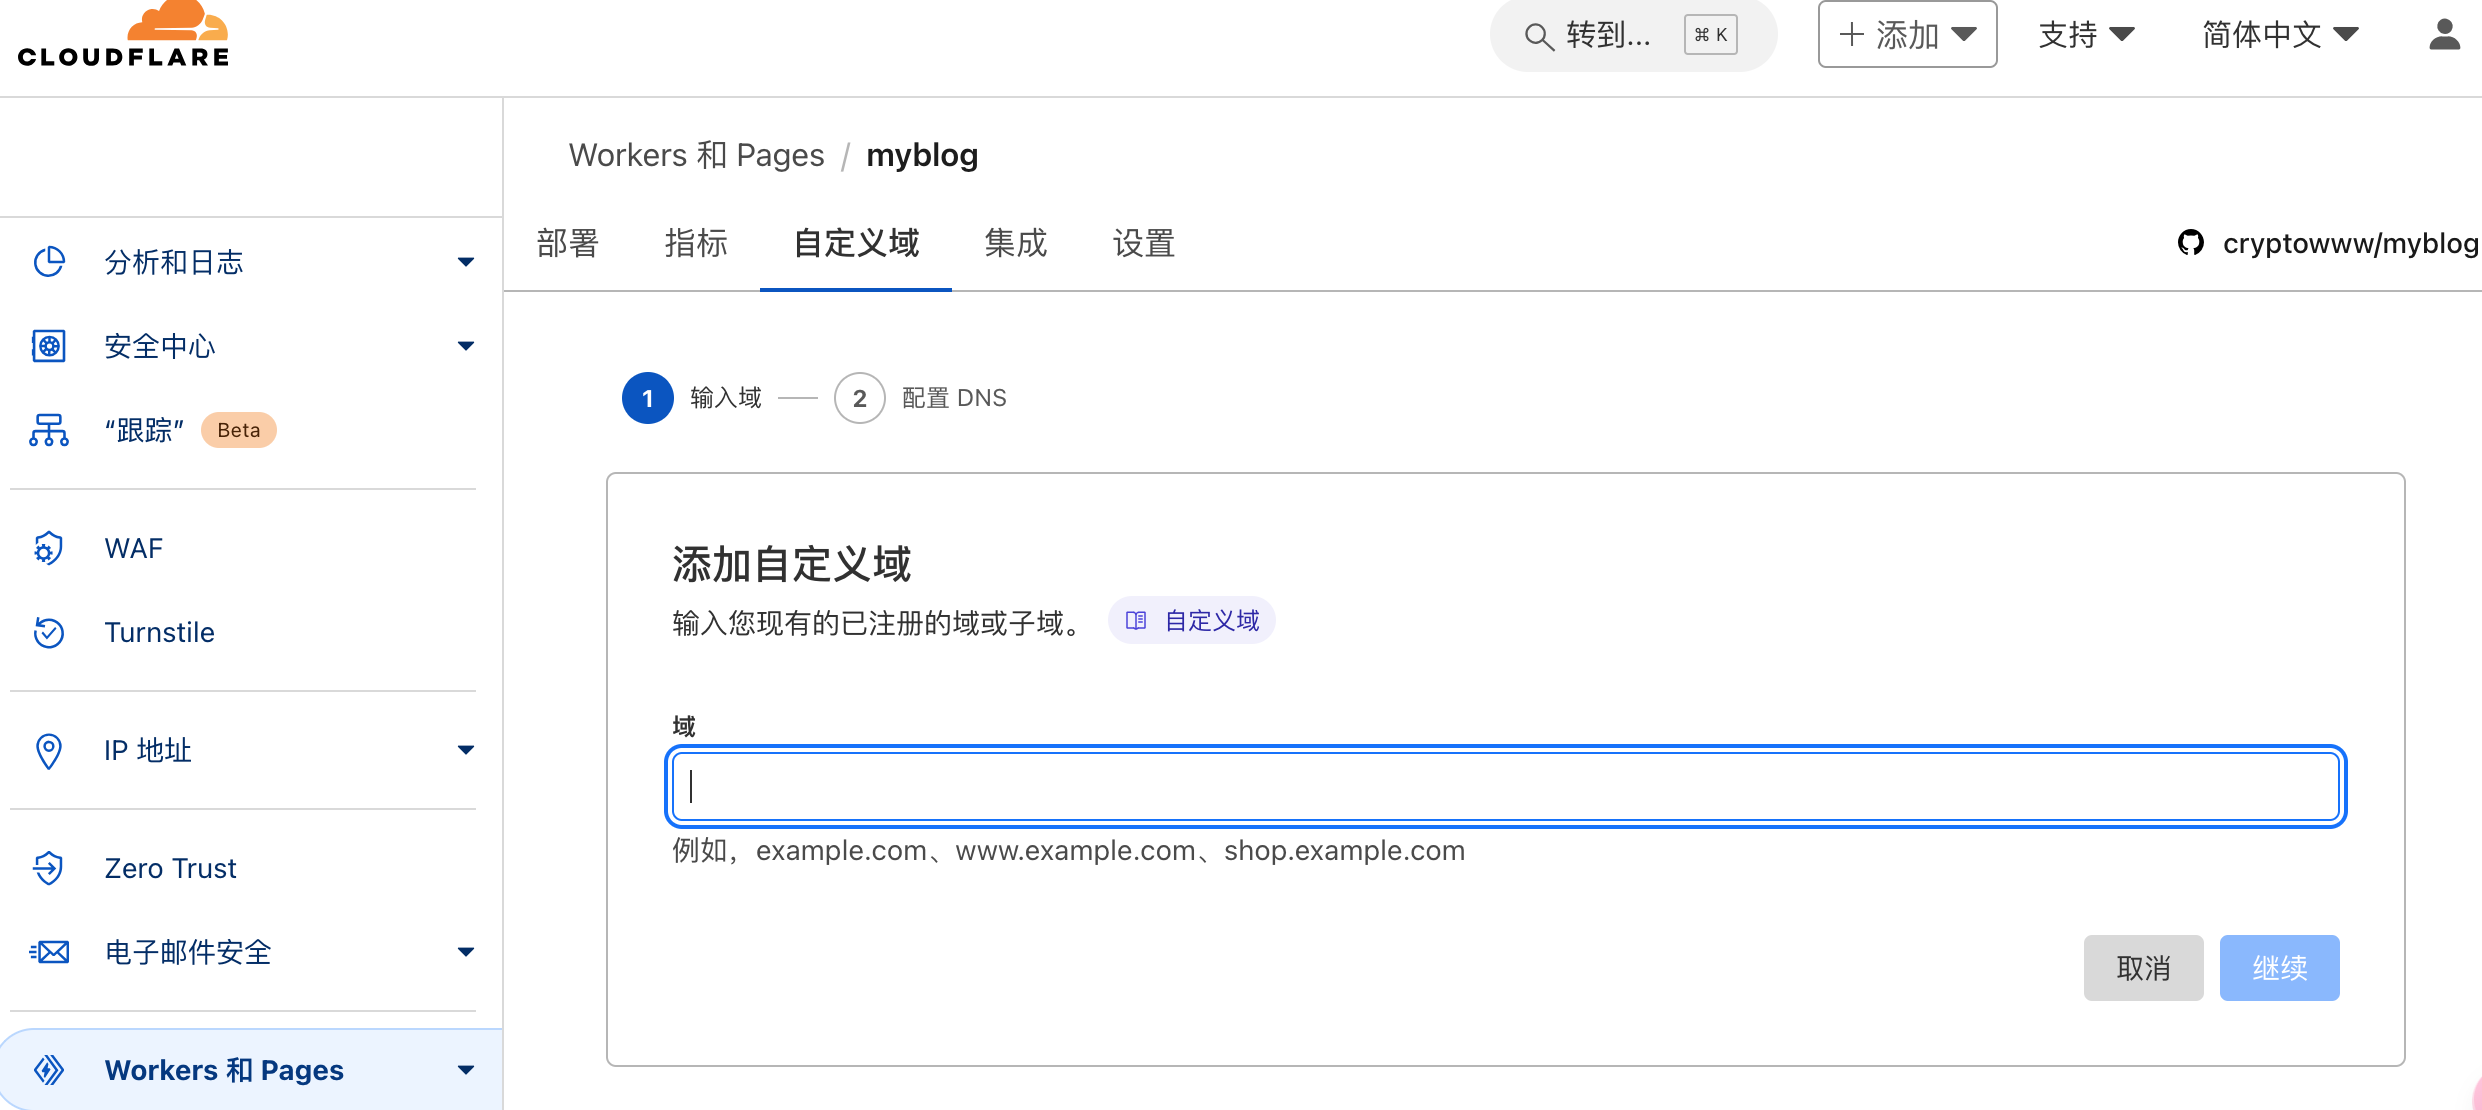
然后我们就可以通过域名访问本站了。